手把手教你如何发布一个 LuaRocks 包。
写一个 rockspec¶ 首先写好你准备发布的包 当然是自己写好了才要发布啦 ,然后我们在项目根目录下写一个 rockspec 文件(用来描述 LuaRocks 包的元信息文件)。
1
luarocks write_rockspec <package_name> <package_version> <package_location>
比如,我希望发布的是 busted_resty 的 0.5.0 版本,那么我需要我的项目根目录上输入以下命令来创建我的 rockspec 文件。
1
$ luarocks write_rockspec busted_resty 0.5.0 .
然后,你会得到一个这样的 rockspec 文件:
 1
 2
 3
 4
 5
 6
 7
 8
 9
10
11
12
13
14
15
package = "package_name"
version = "1.0-1"
source = {
url = "*** please add URL for source tarball, zip or repository here ***"
}
description = {
homepage = "*** please enter a project homepage ***" ,
license = "*** please specify a license ***"
}
dependencies = {
}
build = {
type = "builtin" ,
modules = {}
}
这里我们简单解释下其中的含义:
package :包名称。version :包版本,必须为 <数字>.<数字>[.<数字>]-<数字> 。source :包的源代码位置,如 Git 地址等。description :包的基本描述,以及版权协议等信息。dependencies :与其他库的依赖关系。build :构建具体信息,比如安装的库名。更多 rockspec 的具体细节 可以在 LuaRocks 的 Wiki 中找到。
对于 busted_resty 的 0.5.0 版本(我已经事先在 Git 上打好了 v0.5.0 的 tag),它的 rockspec 是这样的:
 1
 2
 3
 4
 5
 6
 7
 8
 9
10
11
12
13
14
15
16
17
18
19
20
21
22
23
24
25
26
27
28
29
30
31
32
33
34
35
36
37
38
39
40
41
42
43
package = "busted_resty"
version = "0.5.0-1"
source = {
url = "git://github.com/Triple-Z/busted_resty" ,
tag = "v0.5.0"
}
description = {
summary = "An extra mocking layer for OpenResty in busted testing environment." ,
detailed = [[
This module mocks the following OpenResty APIs:
- ngx.status
- ngx.exit
- ngx.exec
- ngx.redirect
- ngx.send_headers
- ngx.headers_sent
- ngx.print
- ngx.say
- ngx.flush
- ngx.eof
- ngx.is_subrequest
- ngx.on_abort
- ngx.arg.*
- ngx.var.*
- ngx.header.*
- ngx.location.*
- ngx.req.*
- ngx.resp.*
]] ,
homepage = "https://github.com/Triple-Z/busted_resty" ,
license = "MIT"
}
dependencies = {
'lua >= 5.1' ,
'luassert >= 1.7.8' ,
}
build = {
type = "builtin" ,
modules = {
busted_resty = "src/busted_resty.lua"
}
}
其中,modules 代表着文件的安装方式及位置。如在 busted_resty 中,安装方式为 builtin ,因此 LuaRocks 只是将这些指定的文件复制粘贴到某个指定的位置。比如,库中的 src/busted_resty.lua 就会被复制到 LuaRocks 中 Lua 库的根目录。
检查 rockspec 语法¶ 写好了 rockspec 后,我们可以来检查下 rockspec 的语法是否正确。当然,使用的是 luarocks lint 命令。
1
$ luarocks lint busted_resty-0.5.0-1.rockspec
如果按下 Enter 后什么都没发生,恭喜你,没有消息就是好消息(毕竟是高深莫测的 UNIX 哲学 😄)。
如果有信息输出,那就按照错误提示改吧 🤣。
MAKE!¶ 当我们编写好了 rockspec 后,就可以尝试构建属于我们自己的第一个 LuaRocks 包了!怎么构建呢,当然是用 LuaRocks 中的 make 命令啦!
不出意外的话,你第一个 LuaRocks 包应该被 LuaRocks 安装到了指定的位置,快打开你最喜欢的 Lua 解释器,试一下吧!
1
2
$ luajit
> require "busted_resty"
如果什么也没有发生,那可就太好了!说明我们的 LuaRocks 包已经被安装到了本地环境上了!
打包并上传¶ 最后,那当然就是最激动人心的环节:将我们的包发布到 LuaRocks 上。
你可以先打包,验证包是否正确:
1
$ luarocks pack <rockspec_file>
在我们的例子中,即为:
1
$ luarocks pack busted_resty-0.5.0-1.rockspec
执行完打包命令后,你会在目录下看到一个后缀为 .src.rock 的文件。没错,那就是我们的 LuaRocks 包。
接下来你有两种方式来将我们刚打出来的 LuaRocks 包上传至 LuaRocks 中心仓库,让我们分别介绍它们吧。
直接在网站上上传 rock¶ 你可以直接在 LuaRocks 网站 上上传你的 rockspec 描述文件以及 src.rock 包。点击“提交”即可在 LuaRocks 上发布你的 rock 包~
用命令行上传¶ 使用 luarocks upload 即可帮你打包并直接上传至 LuaRocks 中心仓库:
1
$ luarocks upload [ --api-key= <api-key>] <rockspec_file>
别忘了 API Key 哦,在这里 可以获取你自己的 API Key。
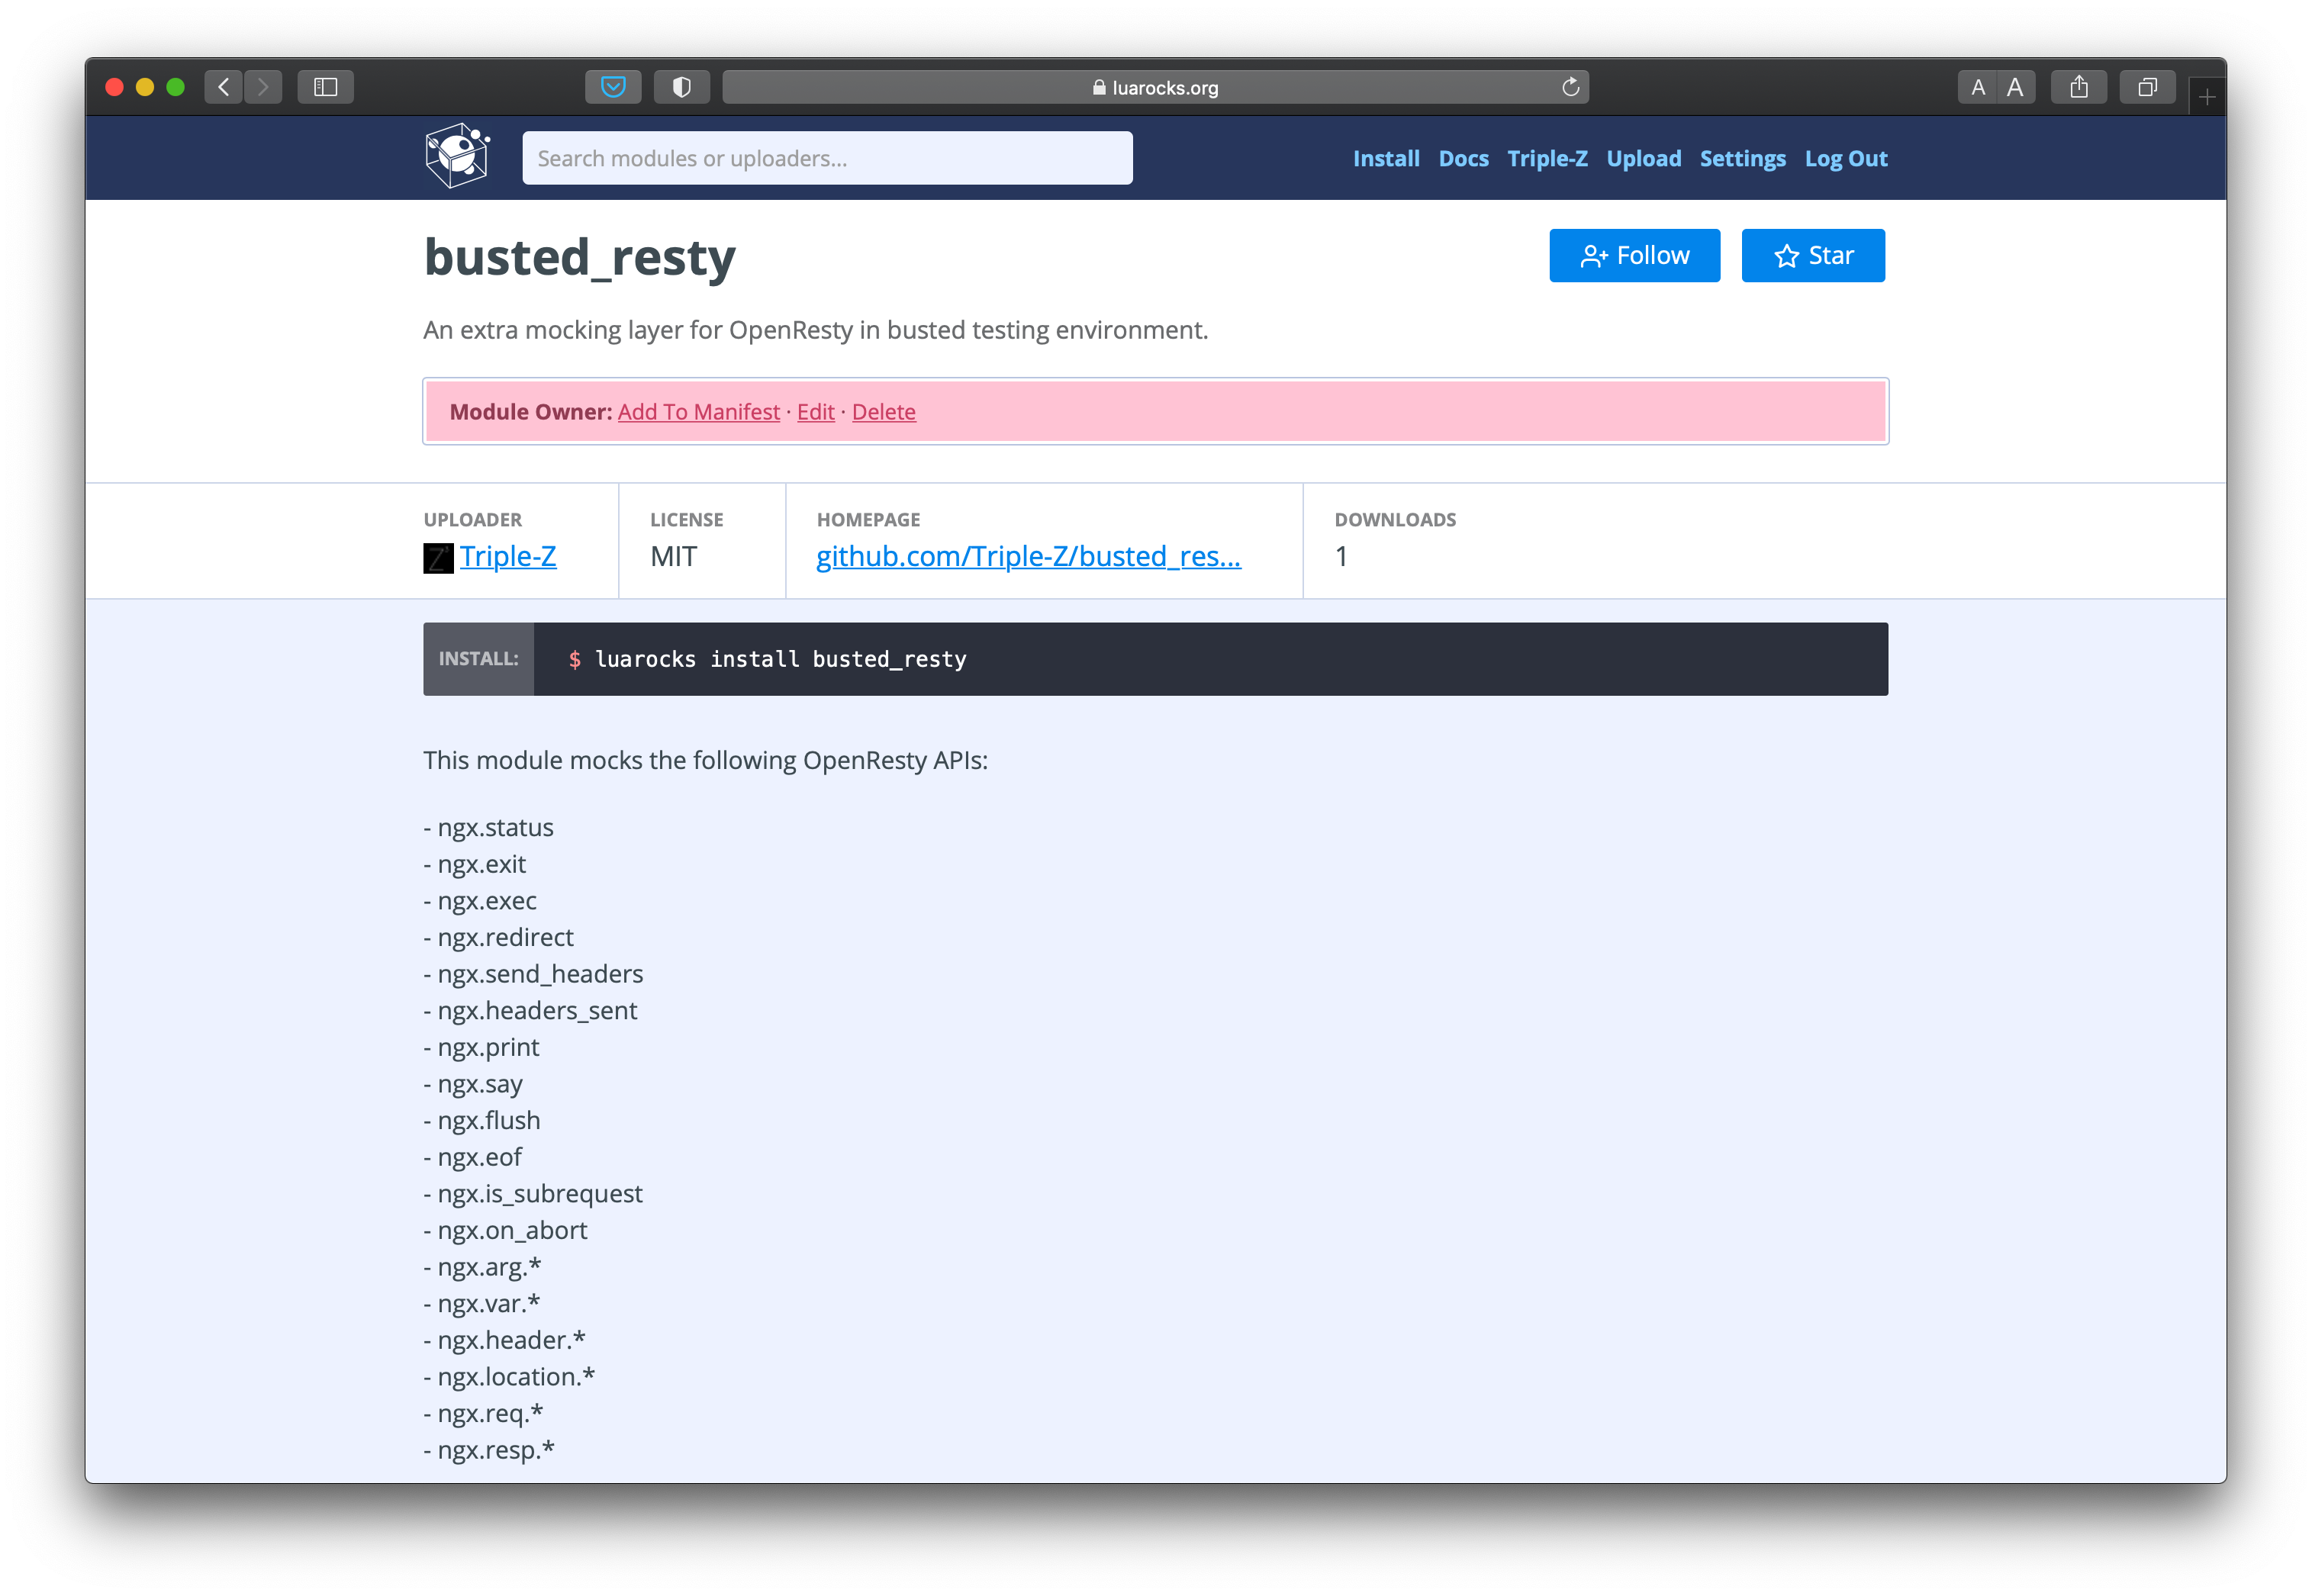
busted_resty on luarocks.org 🎉恭喜你,成功上传了自己的第一个 LuaRocks 包!
本作品采用
知识共享署名-相同方式共享 4.0 国际许可协议 进行许可。